The (Best) 20-Min Leg Day Workout for Home
One of the biggest questions we get from everyone is “How do I work my legs at home?”
After all, challenging the legs with barbells, dumbbells, and machines at the gym is easy. We can just continue to add weight to our exercises until our legs look like tree trunks. But if we want to build strength but we’re unable to get to the gym, don’t have a gym membership, or are traveling – then what do we do?
Enter the NERD FITNESS LEG DAY WORKOUT.
Our 20-minute routine can be scaled for someone just getting started (beginner), or someone looking to get their legs blasted (advanced).
Here’s what we’ll cover today:
- The 20-minute Nerd Fitness Leg Day Workout (with infographic)
- The 6 best leg exercises for building muscle at home
- What’s a good leg day warm-up?
- 3 ways to challenge your legs without using weights
- How to use weights at home for leg day (including household objects)
- What exactly is leg day?
- 5 reasons to never skip leg day
- Can you get strong legs just by walking?
- How to prevent muscle soreness after leg day.
- What workout to do AFTER leg day? (5 ideas for active recovery)
- What’s the best day for leg day? (When to schedule leg day)
Let’s hop to it!

Jumping would also be a great leg workout!
The 20-minute Nerd Fitness Leg Day Workout
To get started with our Leg Day Workout, warm up with 1-2 minutes of leg swings and marching in place.
Continue the warm-up with 1-2 sets of the first exercise at an easier variation (or less weight/reps) then move on to your work sets. For the remaining exercises, perform 1-2 additional warm-up sets at the start, if needed. (A bit more on the warm-up later!)
Alternate between Workout A and Workout B on non-consecutive days to properly recover. Meaning, give yourself a “rest day” before doing a leg workout again.
If you’re new to dedicated leg days (or just getting back into things), then choose the lower end of the prescribed sets and reps, while picking easier variations. If you’re a seasoned pro, then start increasing the number of sets or reps you do each workout, while pushing for harder and harder variations.
Rest 1-2 minutes between sets (or longer, if needed).
Now, let’s give you some specifics.
LEG DAY AT HOME – WORKOUT A
Phase 1
Warm up for a few minutes.
Phase 2
Do 2 to 4 sets of the following:
- Squat Variation: 5-8 reps
- Deadlift Variation: 8-12 reps
Phase 3
Do 2 to 3 sets of the following:
- Lunge Variation: 5-8 per side
- Calf Raise Variation: 8-12 reps
LEG DAY AT HOME – WORKOUT B
Phase 1
Warm up for a few minutes.
Phase 2
Do 2 to 4 sets of the following:
- Deadlift Variation: 8-12 reps
- Squat Variation: 5-8 reps
Phase 3
Do 2 to 3 sets of the following:
- Step-up Variation: 5-8/side
- Shin Raise Variation: 8-12 reps
There are a lot of variations you can choose from for these exercises, so let’s break these down for you.
Real quick, before we do, I’d like to highlight that crafting effective routines, much like the one above, is a significant aspect of NF Coaching. Our team of coaches understands the hustle, so we tailor quick workouts that optimize available resources—be it equipment, time, or energy.
And that’s not all! A coach can also help with your nutrition and stress management, two vital components of the fitness adventure.
In fact, there’s a whole lot more to explore. If you’re intrigued, take a closer look at our online one-on-one program here:
The 6 Best Leg Day Exercises for Home
Let’s go over some categories of leg day exercises that you can do at home, plus some variations you can choose to get started with.
#1) Squat Variations:
No leg workout would be complete without the squat.
It uses all the muscles of the lower body in a very natural pattern – ever see a baby squat?
However, as we age and adopt unnatural sitting postures, our squat form tends to suffer.
So let’s work to get back to basics, baby!
Squat variations to choose from:
1) Assisted Squats
Working up to an unassisted squat in your workout, or just need a good option for your warm-up? Enter the assisted squat! Hold onto anything safe and stable (a countertop, a chair, the wall) to put some of the work off your legs and into your arms.
2) Bodyweight Squat
In the video above, we cover five common mistakes folks often make when performing a squat.
Give it a watch so you don’t make them too!
3) Pause Squat
Is the regular squat feeling too easy? Pause for a couple of seconds at the bottom. This will work the muscles a bit more as well as help improve your mobility for the exercise.
4) Goblet Squat
Have you become a master of the bodyweight squat? Then add some weight to it! Hold a weight with two hands in front of your chest, like a big goblet that you don’t want to spill. This means keeping the chest and weight up!
If you don’t have a dumbbell, then this is the perfect time to hold a suitcase or backpack up for improvised weight as we describe here.
5) Banded Squat
Weighted squats are great, until you have to travel! For a much lighter, but still powerful option, hold a band in your hands and stand on it. If your band is a continuous loop, you can also stand on it and drape the band over the front of your shoulders while crossing and lifting the arms up.
6) Jumping Squat
No weights? No bands? No problem! Add some explosion to the movement and jump off the ground for each rep. You don’t have to jump sky high, or honestly even leave the ground. Even just a slight weight reduction should prove more challenging than a regular bodyweight squat.
7) One-Legged Squat (do 5-8 per side)
Ready for the ultimate challenge? Build up enough strength to do a squat with just one leg!
This is an amazing variation when you find yourself with no gym and no equipment. Just like the regular bodyweight squat, you can work this assisted first by holding onto a chair or doorframe.
We cover a lot of the finer points in our YouTube video – getting your first one-legged squat:
For more deets on how to squat properly in general, check out The Nerd’s Guide to the Perfect Squat.
#2) Deadlift Variations
Why deadlifts?
Well, not only will a deadlift challenge our legs. But really, it’s an EVERYTHING exercise, as we engage every muscle in our body throughout the movement:
- Posterior chain and legs? They’re the powerhouse, working like a lever to hoist that weight up.
- Back and core? Engaged throughout the movement as we keep our whole body tight and steady.
- Shoulders and traps? They’re working hard to keep the weight secure as we lift.
So any solid leg day workout should aim to include deadlifts in it.
Deadlift variations to choose from:
1) Bodyweight Deadlift (Good Morning)
While we’re not “lifting” anything in this variation, it’s still the same movement of hinging at the hips and leaning forward. You can keep your hands in front of you holding imaginary weights, or placed up behind your head for an exercise that is often called the “good morning”.
2) Weighted Deadlift
We can pick up dumbbells, kettlebells, or barbells. At home, we might be picking up luggage, backpacks, or sandbags. In any of these examples, the form remains the same! Push your hips back and lean forward, like you did for the good morning.
Once you’ve leaned forward a bit, then bend your knees slightly to be able to reach your weight. Grab strong and stand up tall. Put the weight back down by reversing the process. Hips back, lean forward, and bend the knees slightly.
3) Banded Deadlift
No weights? Again, no problems. You can stand on a band and work the deadlift.
If you have a close-looped band, another option is to loop the band around one foot, then under the second foot, and then back around the first foot. This will give you a cat’s cradle of bands between your feet where you can grab one to four bands to deadlift for a variety of difficulties.
Check the gif for further explanation:
4) Kettlebell or Dumbbell Swing
Just as we added some speed and explosion to the squats, we can do the same thing to the deadlift movement too. This is called ‘the swing’ and can be done with a dumbbell, kettlebell, or even a compact backpack.
The biggest focus is to make sure the power is coming from your hips and they pop open, and not from your arms lifting the weight.
5) One-Legged Deadlift (do 8-12 per side)

As with the squat, if we don’t have bands or equipment, then one of the best go-to’s is to perform the exercise on one leg. This puts more work on that single leg, as well as makes it more challenging for our balance as we go through the reps.
6) Weighted One-Legged-Deadlift
Have some weights to use, but a two-legged deadlift is too easy – then do it on one leg! Take your time, and continue to focus on pushing those hips back at the start of the exercise.
For more here, check out The Nerd’s Guide to Deadlifting.
#3) Lunge Variations
When done correctly, lunges target the quadriceps, hamstrings, glutes, and calves, enhancing lower body strength and stability. Additionally, because they are iso-lateral (your feet aren’t in line with each other), lunges help stress the lower body in a different way that can help reduce imbalances from left to right.
When you add it all up: lunges are perfect for leg day!
Lunge variations to choose from:
1) Assisted Lunges
Just like with the assisted squats, for assisted lunges, we can hold onto something stable like a countertop, chair, or wall. The idea again is to put some of the work into your arms and off your legs, as well as provide more stability.
2) Split Squats
The split squat is another great variation to work on the way to a regular bodyweight lunge. While it looks very similar to a lunge, the biggest difference is that we’ll set our feet once, and then keep them in place and we move up and down. By keeping the feet stationary, the exercise can be a bit easier to balance.
3) Bodyweight Lunges
The lunge puts stress on the legs greater than just a bodyweight squat, while also challenging our balance. Step out far enough to be able to sink down so that your back knee comes close to the ground (it can lightly touch, but don’t slam it down).
If stepping forward feels a little achy for the knee, you can work on stepping backward into position (aka the reverse lunge).
4) Pause Lunges

If the regular lunge is feeling strong, then add a pause! We’ll pause at the bottom of each rep for a couple of seconds before returning to standing. Get as low as you can, while still keeping the back knee off the ground.
5) Lateral Lunges
Lateral lunges are a deceptively challenging lunge variation. While many of our movements in the gym have us moving forward and backward (the sagittal plane, for you anatomy nerds). The lateral lunge has us moving sideways (the frontal plane), so it may feel new and unfamiliar.
Take your time, use an assist if needed, and look to sink down as low on your leading leg as you would in a squat. The other leg can remain straight, with the foot on the ground.
6) Weighted Lunges
Are all of these lunges too easy so far? Then add some weight! You can hold weight up at your chest, like the goblet squat, or in your hands. If you have some weight in a backpack, you can even wear it to make the exercise more difficult.
7) Jumping Split Squats
When you’re working out, but don’t have any extra weight to add to your lunges, this dynamic variation will get the job done. Get set just like a regular split squat – stepping out with one foot and sinking down. But now, instead of just split squatting up and down with the feet in place, you want to explode off the ground and switch feet in mid-air.
For more here, check out The Nerd’s Guide to the Perfect Lunge.
#4) Calf Raises
No surprise here that calf raises target our calf muscles…it’s right in the name.
But the exercise also promotes foot and ankle strength, contributing to overall body balance. That makes it a great exercise for leg day.
Calf Raise variations to choose from:
1) Seated Calf Raises
If this is your first time doing dedicated calf work, I’d highly suggest starting with seated calf raises. The extra focused work on this muscle can make them sore very easily, so this a good option to dip your toes in.
2) Standing Calf Raises (Floor)
If seated calf raises are feeling strong, then stand up to add a bit of weight to the movement. Press your toes through the ground and get up as high as you can. Hold onto a wall, chair, or countertop to assist with your balance, but look to keep most of the weight still in the legs.
3) Standing Calf Raises (Step)

Adding a step to your standing calf raises allows you to drop your heels lower and increase the range of motion. This also increases the likelihood that it’ll be a little tough to walk normally the next day!
Get a good stretch at the bottom, and then really extend up to the top.
4) One-Leg Calf Raises (Floor)
Once two-legged calf raises are no problem, then it’s easy to increase the intensity by working one leg at a time. As before, we can start on the ground to get more weight into the movement while working in a smaller range of motion.
5) One-Leg Calf Raises (Step)
Ready to turn those calves into cows? Then let’s get up on the step and work the one-legged calf raise. All the previous cues still apply – look to drop your heel below the step and get a good stretch before pushing through and really extending at the top.
If this continues to feel easy, then your free hand can hold a weight to increase the intensity further.
#5) Step-Up Variation
Step-ups, a versatile leg exercise, amp up strength in crucial muscle groups—quadriceps, hamstrings, glutes, and adductors.
Moreover, being a unilateral leg exercise (since we’re doing one leg at a time), step-ups play a vital role in balancing strength between both sides. This can help us improve imbalances. As we strive to create a killer leg day routine (which is the plan), step-ups definitely deserve a spot in the spotlight.
Step-up variations to choose from:
1) Assisted Step-Ups
As with the previous assisted variations, use something stable to help you step up onto the object. You may step onto a stepstool, a step or two on a flight of stairs, or any stable box.
The higher the object, the harder the step-up, but looking for a height that puts your front thigh about horizontal is a good average to work towards.
2) Bodyweight Step-Ups
When the legs feel strong enough, then remove any assist and step up strong. Look to keep the chest up as you stand up tall at the top. Alternate back and forth with which leg you step with, to give the legs an equal amount of work.
3) Weighted Step-Ups
As we continue to get stronger with the step-ups, then adding weight is the next natural progression. As with the lunges, you can hold weight up at your chest, like the goblet squat, or in your hands. If you have some weight in a backpack, you can even wear it to make the exercise more difficult.
4) Bulgarian Split Squats
While the Bulgarian Split Squat looks like a lunge, we’ll keep it in the Step-Up Variations as A) we should be putting more emphasis on the front leg than both legs and B) you’ll likely be performing this exercise with the same set-up as your step-ups – on a flight of stairs or with a box.
Step out in front of whatever object you’re using, and then place the top of your foot up on the object. If this is too uncomfortable, then you can place a towel or other similar padding to help.
Sink down until your front thigh gets horizontal, and then stand back up. If you feel too “cramped” when trying to descend, then step a little further away from the object.
#6) Shin Raises
Shin raises are great. They make the front shin muscle, called the tibialis anterior, stronger. This muscle helps protect your knees by reducing the force on them when you run or jump. They are also fantastic if you’ve ever suffered from shin splints. So, shin raises are like a shield for your knees during active stuff!
They are also much less frequently worked, so take your time and don’t get frustrated if they feel challenged!
Shin raise variations to choose from:
1) Shin Raise – Feet Close to Wall
The first and relatively easiest variation is to perform shin raises with your feet closer to the wall and your back leaning up against the wall. Feet should be naturally hip-width apart, and then lift your feet as high as you are able to go. Again, take your time and go for quality reps.
2) Shin Raise – Feet Far from Wall
As the shin raise gets easier, you can increase the range of motion and difficulty by moving your feet farther from the wall. Continue with the same cues – putting your feet hip-width apart, and lifting your feet as high as you can go.
3) Shin Raise – Heels on Edge of a Step
Some people prefer standing on the edge of a step and lowering their feet down, as opposed to moving their feet out away from the wall, to make the shin raise more difficult.
Care should be taken here to set up a safe position. Look to pick a very low step where your toes can touch the ground lightly at the bottom. This will help minimize the risk of slipping off the front. Your heels should be firmly on the step, and then reach back to the wall for balance.
What’s a Good Leg Day Warm-Up?
Warming up before tackling leg day is crucial because it’ll help you move better and feel stronger through your workout.
As your body temperature rises during a warm-up, blood flow to muscles increases. This enhances oxygen delivery and nutrient supply, optimizing muscle function.
Additionally, warm-ups promote the release of synovial fluid – this is a thick liquid between your joints that reduces friction. This helps the exercises feel more effortless.
So, in a nutshell, warming up is like priming your engine before pushing the pedal.
Here’s a warm-up you can do to prepare for leg day:
#1) Leg Swings for 20-30 seconds per side

The objective for this movement is to lightly move the hip joint through a big range of motion. Only swing as high as you feel comfortable, and keep the body in a strong upright posture.
#2) Marching in Place for 30-60 seconds
You can march in place or march straight ahead. The marching should increase our heart rate a bit, but not be strenuous. The objective here is to introduce some movement in the knee joint and continue to warm the whole body up.
#3) One to Two Sets of an Easier Variation of Your First Chosen Exercise
These are not part of the prescribed sets that are in the workout. These are additional sets! Adding in a few warm-up sets is one of the best things to do to specifically prepare the body for the exercise.
So if you’re first exercise is a bodyweight squat:
Start off with an assisted squat:
Or if you’re doing a goblet squat, then start off with a lighter weight (or a bodyweight squat).
Adjust the movement for these warm-up sets so that they feel good and you feel more prepared for the tougher sets ahead.
#4) Include Additional Warm-up Sets, as Necessary, as You Continue Through Your Workout
After the first exercise, you may feel good enough to step right into the main sets of your next exercises. If you don’t feel ready, then continue performing 1-2 easier sets as a warm-up for any additional exercise.
If you’re going to be lifting heavy weights, or just challenging yourself in general, it’s still a good idea to do warm-up sets before you get to the main event.
So if you plan on doing a kettlebell deadlift:
Deadlifts at a lighter weight, or a bodyweight good morning would help.
Listen to your body as you go, and don’t be afraid to add a warm-up set or two before every new exercise.
For more on this subject, check out How to Warm Up Before a Workout.
3 Ways to Challenge Your Legs Without Using Weights
If you’re at home, you might have some weights around for your leg day workout.
Great!
But if you’re away from home, like at an Airbnb, you might not.
Don’t fret.
Here are three ways to challenge your legs without weights:
- Pause variation: this will make the movement tougher as we pause for a couple of seconds at a certain point in the exercise, usually at the bottom where the muscles are doing the most work.
- Banded version: this will make the movement tougher as we use bands to add resistance to the exercise. There are different exercise bands you can purchase, but we tend to like the thicker, closed-loop bands. They are much easier to pack for a road trip than a set of weights. You can learn more about resistance bands here.
- Dynamic version: this will make the movement tougher as we add some speed to the exercise. This generally involves a jumping variation of a regular exercise, such as jumping squats or jumping split squats.
Now, sometimes we need to make exercises EASIER.
This is generally done by performing an assisted variation.
With an assisted variation, we make the movement easier and generally involve holding onto something solid nearby – whether that’s a countertop, chair, or wall.
Assisted variations are also handy (hehe) for doing warm-ups. See above.
Now, obviously, a simple way to make an exercise tougher is to add some weight to it. Let’s talk about that next.
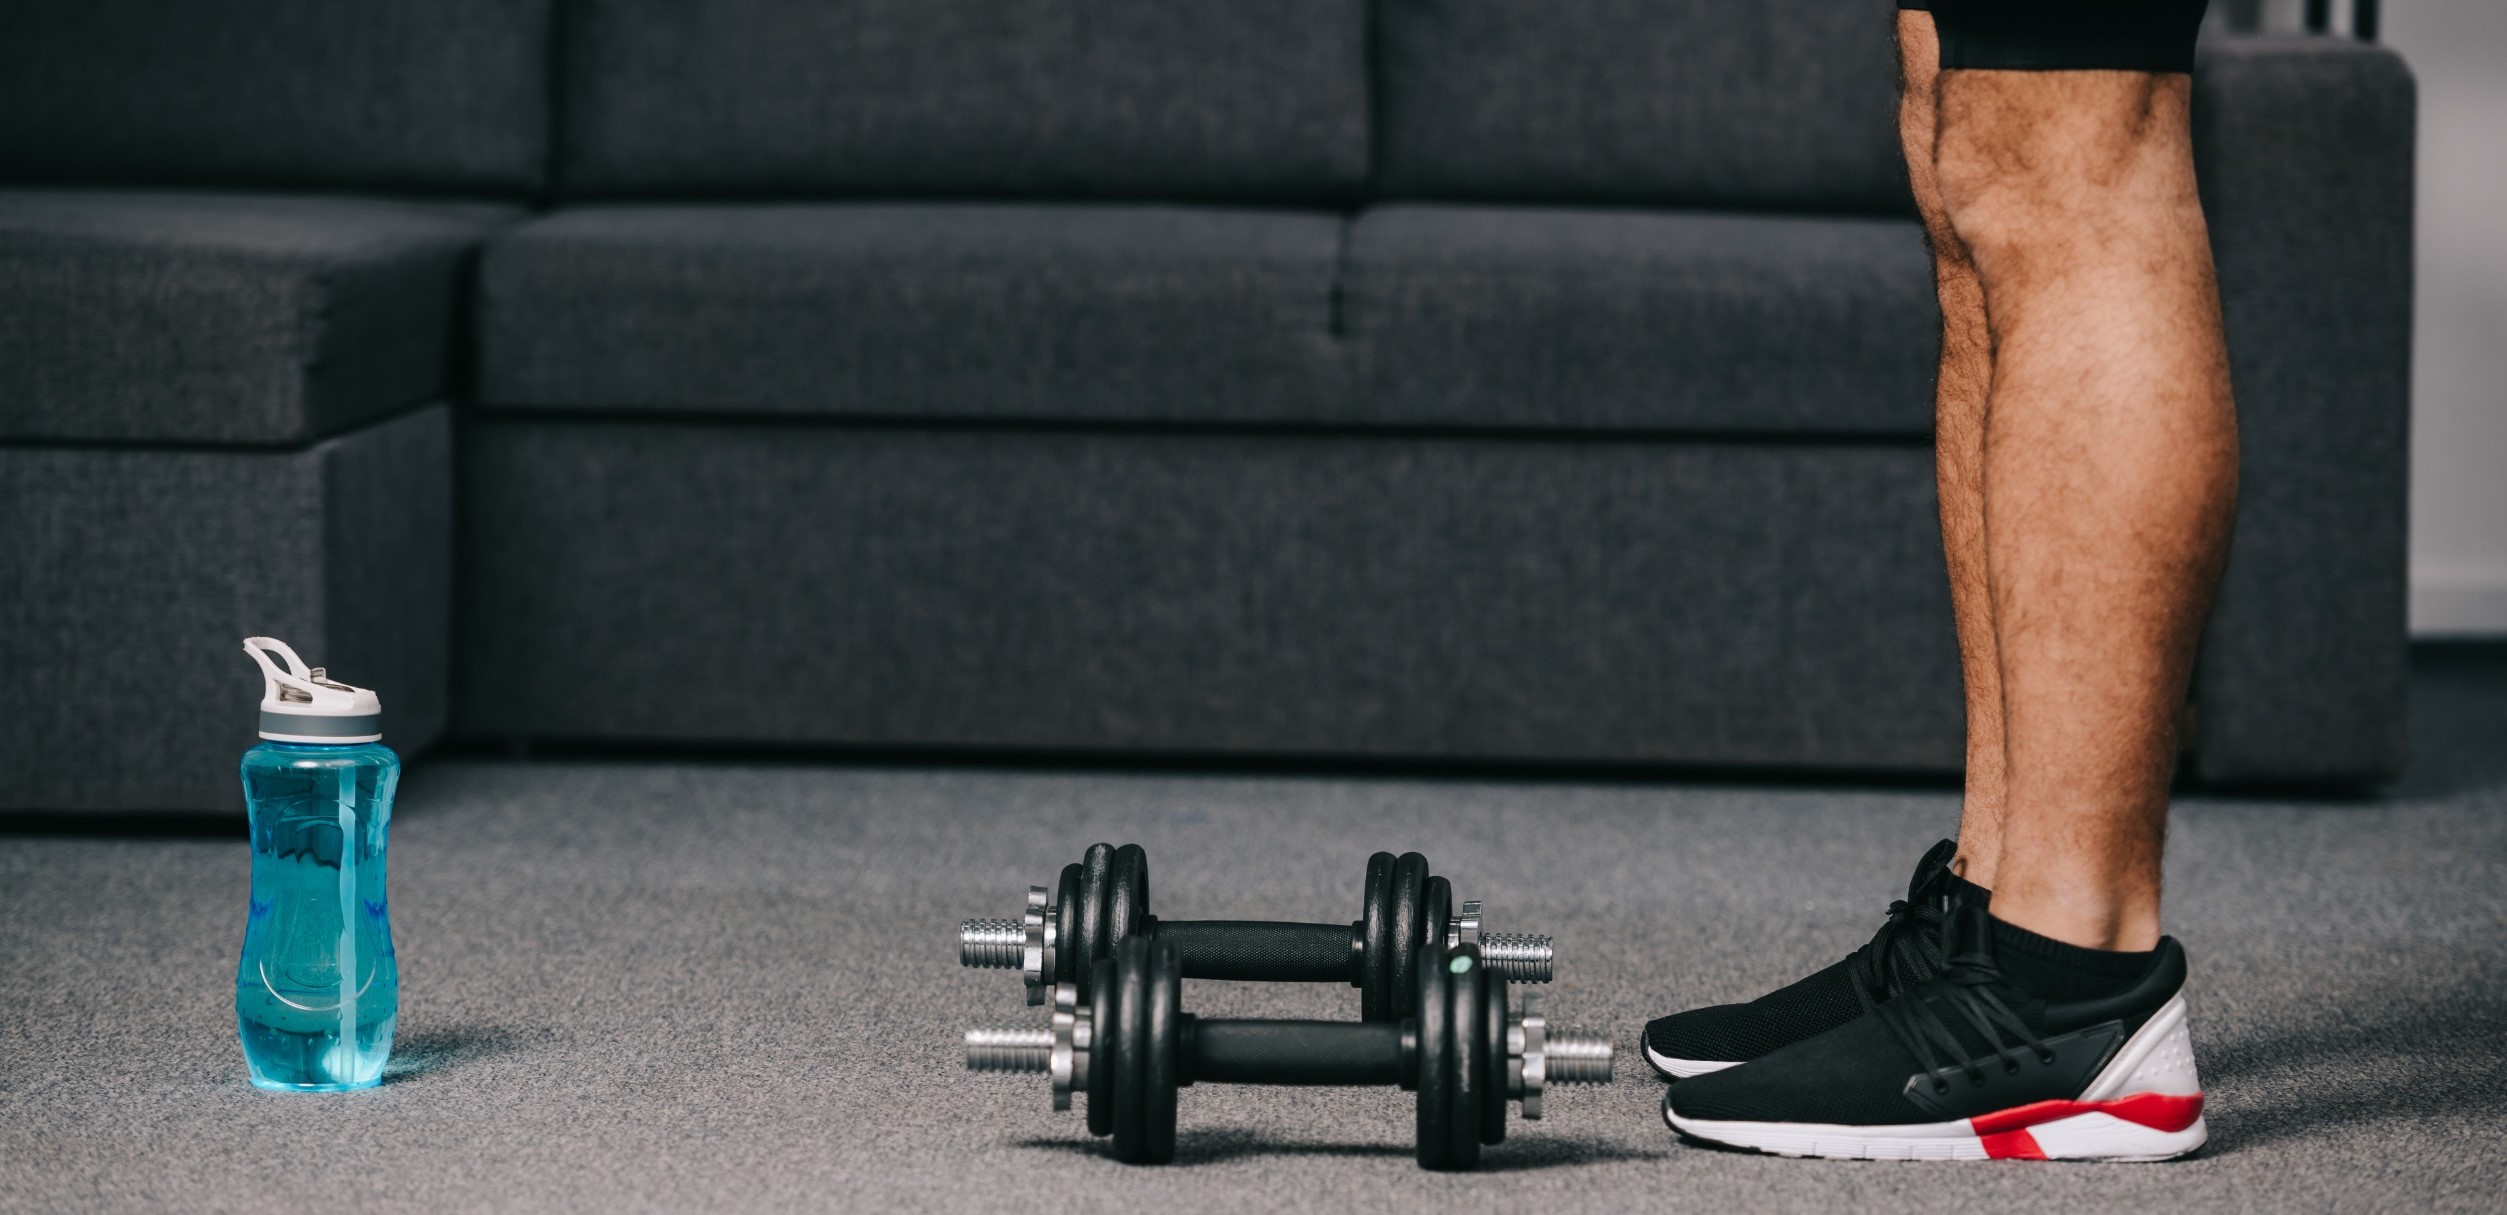
How to Use Weights at Home for Leg Day (Including Household Objects)
Adding any weight to an exercise will naturally make the movement tougher, as we have to move our bodyweight and this additional weight. You might have a small collection of weights and dumbbells at home that you can use, but we can also grab anything safe and stable for additional weight. It’s something we bring up in the video, How to Level Up Your Home Gym:
As highlighted by Coach Matt in the video above, various household items can be repurposed for your home gym!
Picture yourself as a fitness MacGyver, but instead of building a helicopter with a crazy straw, a can of hairspray, and some bubble gum…
You’re crafting a home gym!
Consider these alternative fitness equipment ideas using everyday items:
#1) Household Containers (Milk, Laundry)
If it has a handle and can hold water, it can serve as a makeshift free weight.
Another idea is to use an empty laundry detergent bottle, refilled with water. To make it lighter, adjust the water level.
Want it even heavier? Use sand instead.
#2) Buckets
What’s designed to hold water and be lifted and carried?
A bucket!
With a bucket and your legs, you can perform a Romanian deadlift:

Like a jug, fill it with enough water (or sand) to match your strength. Take your time if you’re using water, as it’ll be likely to slosh out otherwise!
#3) Luggage and Backpacks
Your luggage might just be sitting in a closet right now. Or you might have a ton of extra bags or backpacks lying around.
So why not turn these into weights? Fill them with anything that can add a bit of heft.
Need some ideas? How about:
- Books
- Canned goods
- Laundry!
Take a stroll around your house; you’ll find plenty to add to make things challenging. (Just remember to keep it safe!)
Now that you have heavy luggage, deadlifts are a great option. You may find it a bit more challenging to lift than a traditional dumbbell or barbell too!
Most exercises with a sandbag can be replicated with a suitcase filled with weight too. You could even just dive into the deep end and make a few sandbags yourself.
And finally, a heavy backpack is great to wear for weighted squats, lunges, or step-ups.
What Exactly Is Leg Day?
So what is this “leg day”, and why does everyone always seem to be skipping it?

Leg day isn’t any more complex than dedicating an entire workout to the lower body. This allows you to focus much more time and attention on it, than if you were working your leg exercises during a total body routine. (Like something we outline here.)
Leg day also tends to be really, really HARD. Not only because we’re recruiting the biggest muscles of the body to move around the most amount of weight, but the rest of the body usually also has to work and stabilize everything in the process.
Lots more working than just the legs here!
Now there’s nothing right or wrong about having a dedicated leg day. This may or may not work with your current goals and situation.
But whether you have an entire dedicated leg workout, or work total body with each session, training your legs is a must.
That’s because…
5 Reasons to Never Skip Leg Day
You may wondered:
“Are training legs really that important? I mean, I walk a lot.
Isn’t that good enough?”
My answer: no. Now go do some squats!
Kidding (but seriously do some squats).
Here are the benefits of doing leg day:
- Build a Beastly Base: Your legs are the powerhouse of your body, literally. Strong legs = better balance, improved athleticism, and a boost in everyday activities like climbing stairs or carrying groceries like a champ. Think of them as the foundation of your fitness empire!
- Calorie Crushing: Leg workouts engage multiple muscle groups, making them calorie-burning machines. Squats, lunges, deadlifts – they all send your metabolism into overdrive, helping you sculpt a leaner, fitter you. Plus, the extra muscle mass you build burns more calories even at rest, meaning more calories burned while playing video games.[1]
- Total Body Gains: Forget the myth of isolated muscle groups. Leg workouts trigger a hormonal cascade throughout the whole body that benefits the rest of your muscles, leading to gains in upper body strength as well. Biceps? Triceps? They’ll be thanking you for those squats!
- Brain Booster: Exercise isn’t just about the body, it’s a friend to the brain too. Leg workouts increase blood flow to your head, delivering oxygen and nutrients that boost cognitive function and memory. So, next time you need to ace that presentation or remember where you parked the car (again), hit the gym and give your legs some love.[2]
- Pain Prevention Powerhouse: Strong leg muscles are your body’s shock absorbers, protecting your joints and spine from injuries. So embrace the leg day life – your future self will thank you for it![3]
Now, to answer your question:
Can You Get Strong Legs Just by Walking?
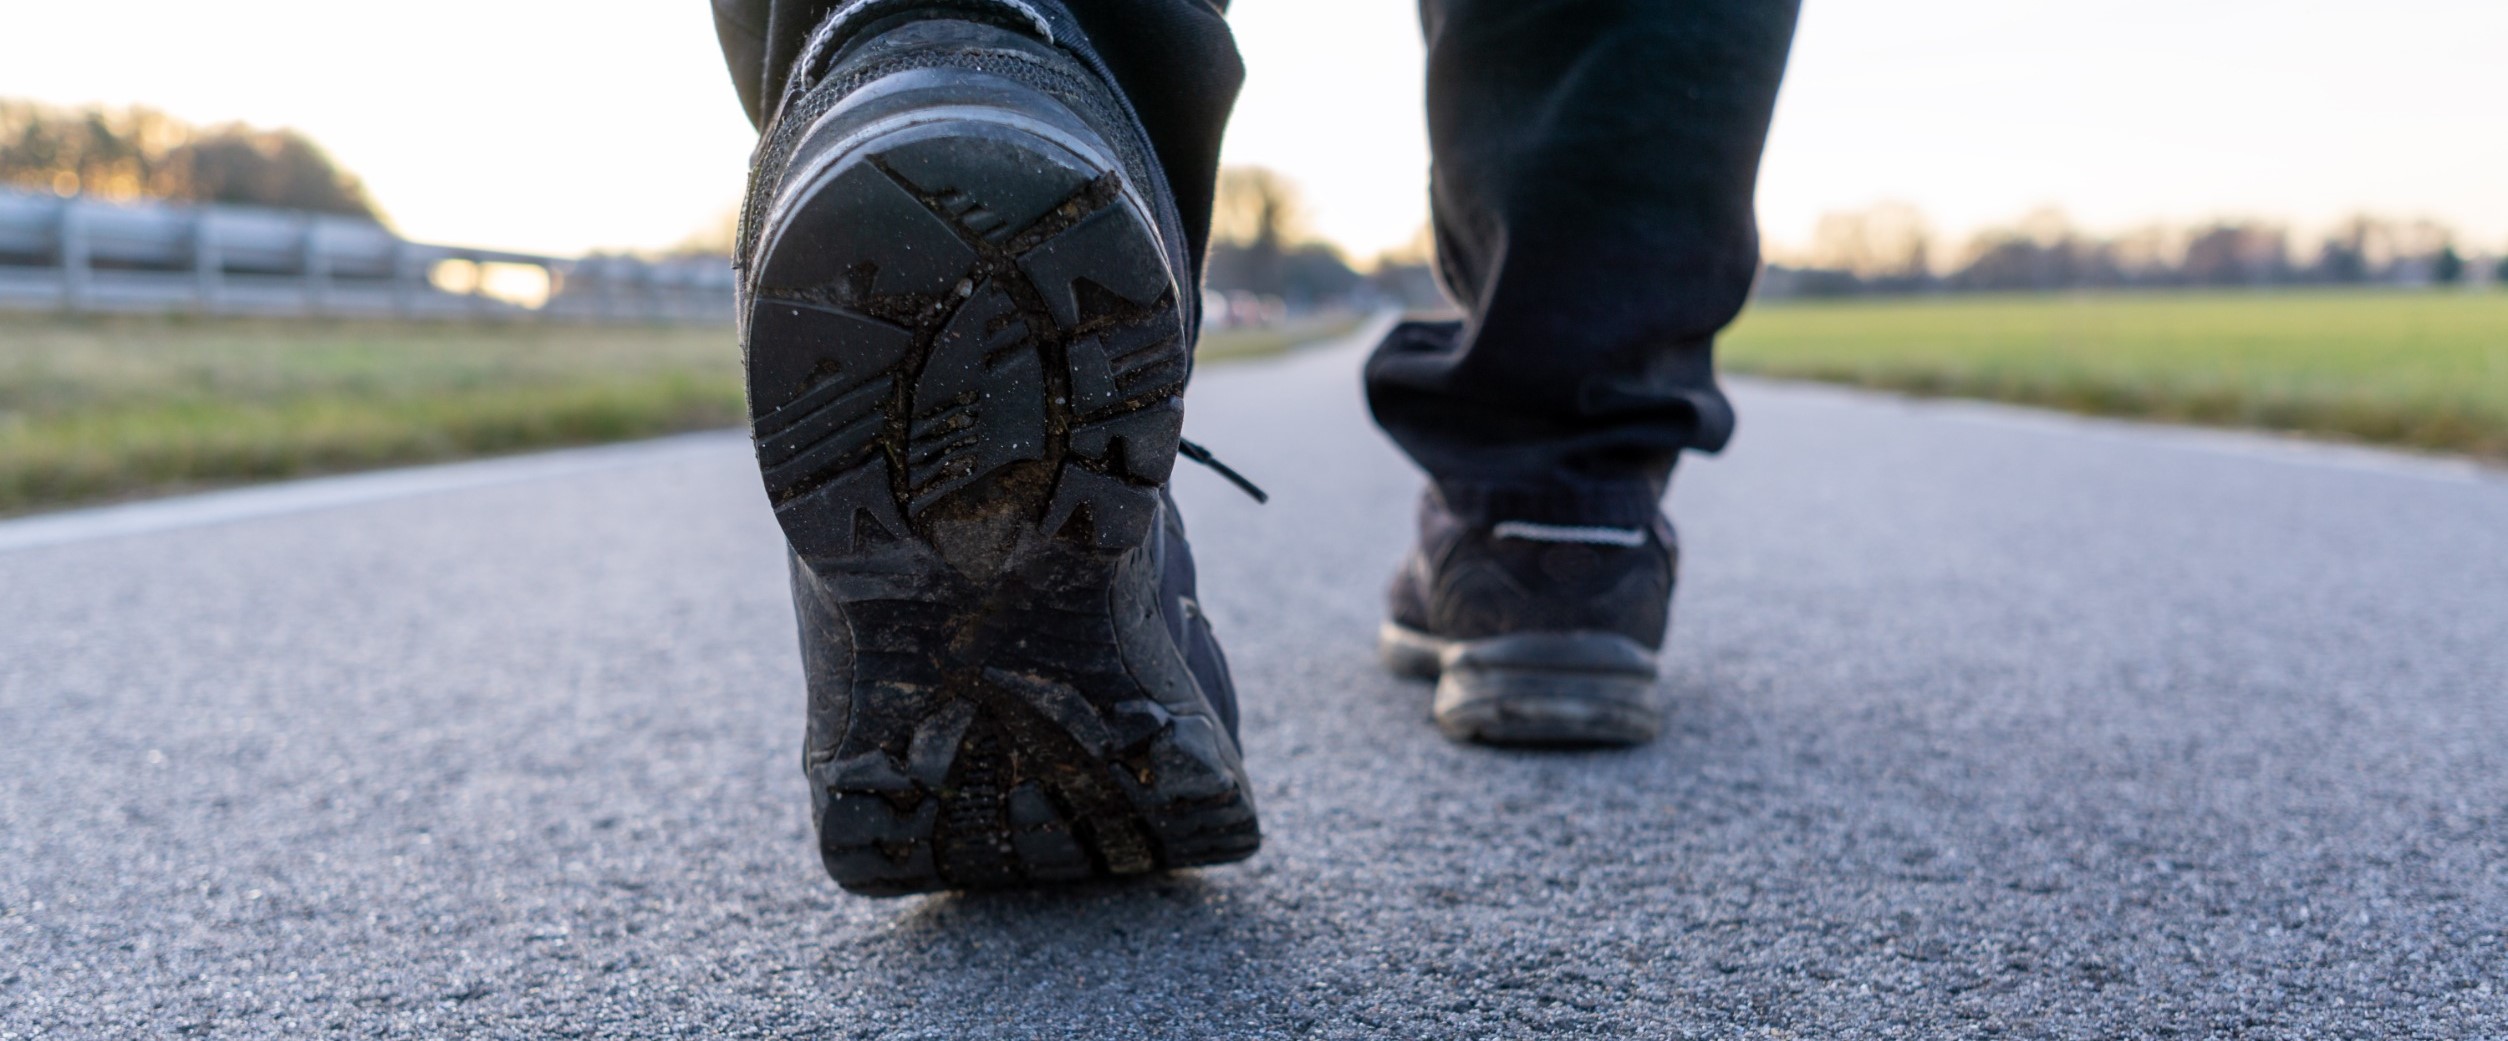
While a brisk walk (or a run) is a fantastic way to stay active, improve your cardiovascular health, and boost your mood, it’s not quite the muscle-building superhero you might be hoping for. Think of it like a gentle tap on the shoulder compared to the full-on boot camp of squats and lunges. Challenging strength exercises, like the ones you see in this article, have a host of benefits you won’t get walking and running.
- First off, they take the joints through a much bigger range of motion. The amount of movement in the knees and hips during a squat is significantly more than a walk. It’s important to move our joints through these ranges of motion, so we can continue moving them well for years to come!
- Next, this bigger range of motion means we’re building strength in the muscles much more effectively than with a walk or a run. More strength will serve us well in anything we do – from sports to life.
- Lastly, this strength-building also puts enough stress on the body to build (or maintain) muscle and bone. The same can’t be said for walking and running. Maintaining muscle and bone is vital as we age (and also pretty darn important when we’re younger too!).
So, while walking is excellent for the heart and a great foundation for a healthy lifestyle, don’t underestimate the power of adding some targeted strength training to unlock those hidden gains. Trust me, your legs will thank you for it!
Oh, and if you are interested in walking more (a great idea in general), here’s The Hobbit’sNerd’s Guide to Walking.
How to Prevent Muscle Soreness From Leg Day
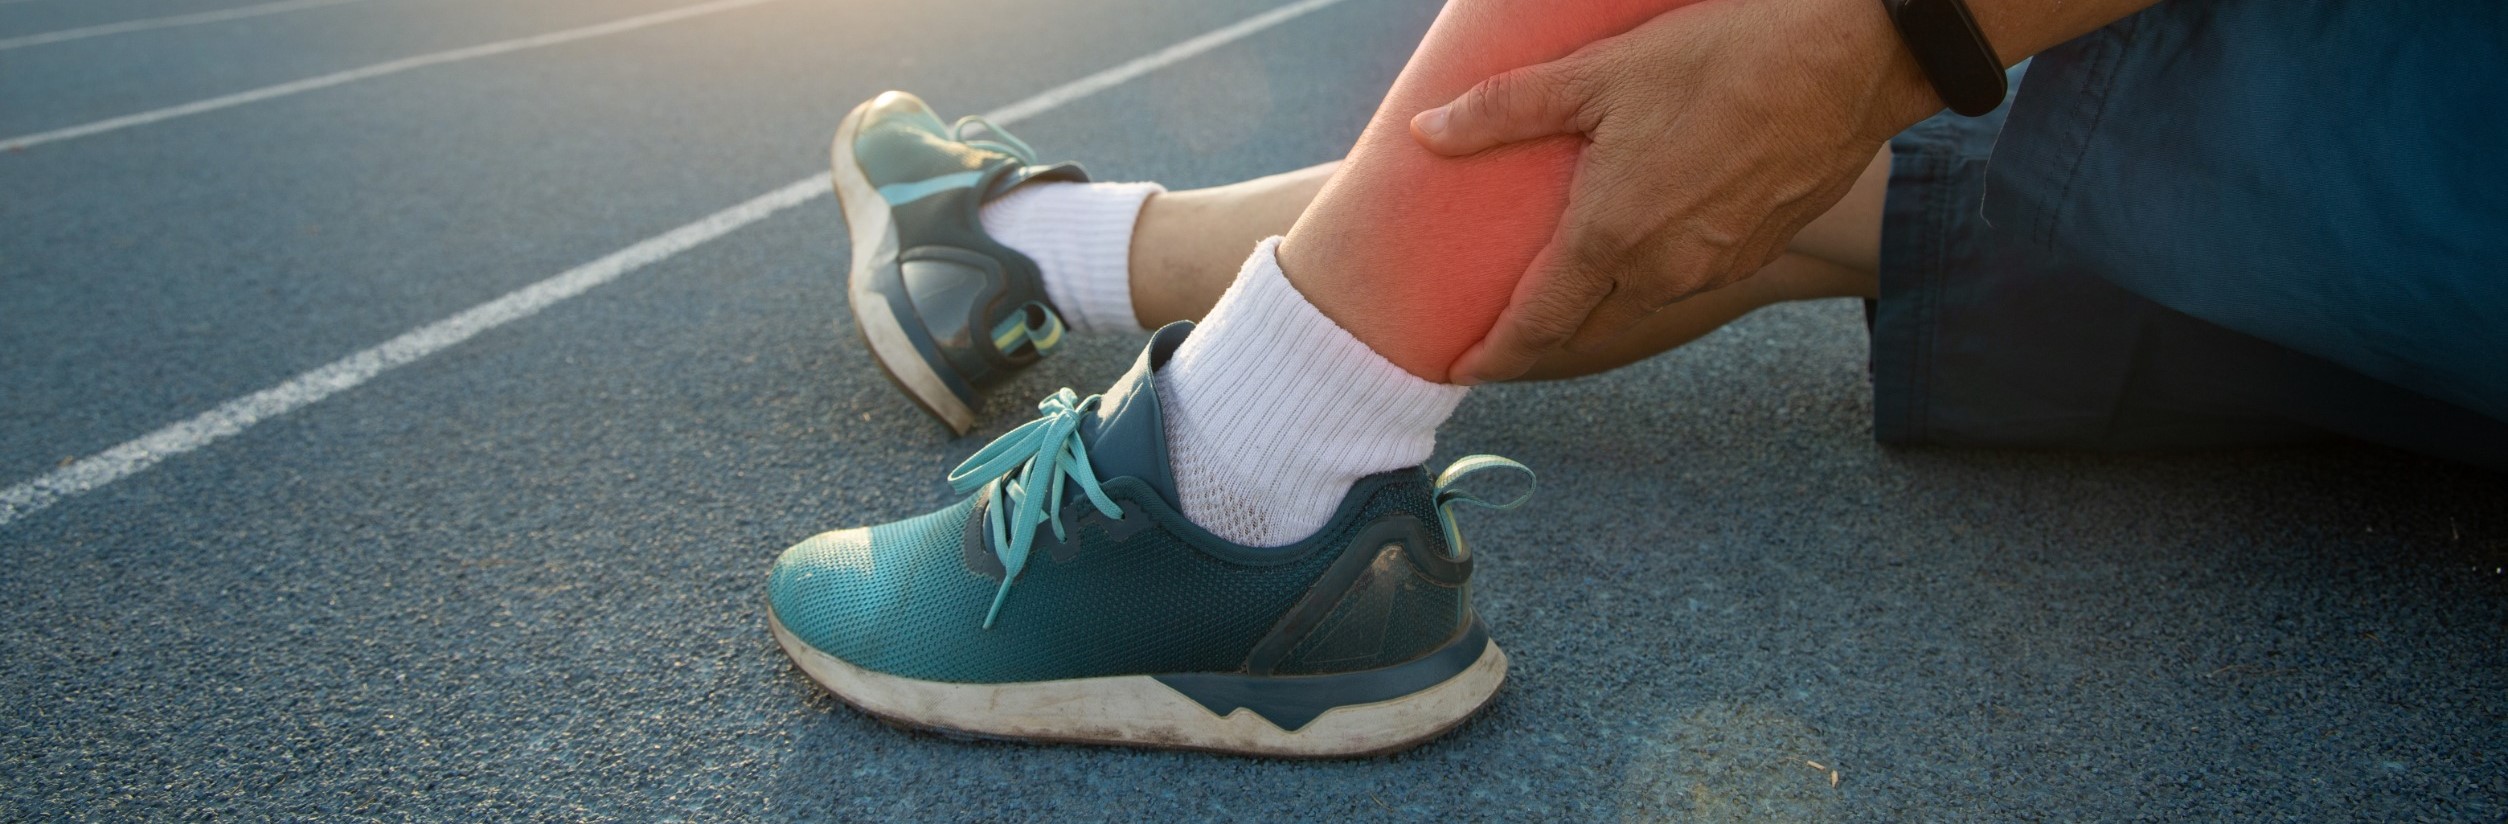
First things first, let’s manage expectations.
Soreness is a natural consequence of challenging your muscles – especially if you’re coming back from a long break or trying something new. It’s like your body throwing a tiny temper tantrum because you dared to ask it to get outside its comfort zone.
So maybe reframe this as your muscles whispering, “Hey, we just leveled up!”
Now, that doesn’t mean we gotta roll around in agony the day after. We can outsmart the soreness a bit with some clever strategies.
Step 1) Pre-Workout Prep
- Warm up like nobody’s watching: Get your blood pumping with some easy movements like leg swings or marching. Think of it as waking up your muscles before they get thrown into the gladiator arena. We covered a warm-up at the top of this article (found here), but we also have a complete guide that covers different warm-up routines.
- Hydrate!: Water is your post-workout soreness BFF. Hydrating properly can lessen discomfort and safeguard your joints and muscles. It works by maintaining the flexibility of the cartilage, kind of like giving them a regular dose of TLC. Fill up before, during, and after your leg day adventure. Think of it as internal lubrication for those tired warriors.
Step 2) During Your Workout
- Form is your fortress: Don’t ego-lift, my friend. Use proper form to target the right muscles and avoid injury. If you find an exercise too challenging, then adjust to another variation. We’re trying to slowly build a castle here, and proper form is how we make sure all the rocks go in the right places.
- Progressive overload, not extreme overload: Push yourself, but listen to your body. Don’t go from “I never work out” to “squat champion” in a day. Your muscles need time to adapt and build strength. Increasing the amount of work you do too drastically is a surefire way to have some debilitating soreness from your workout.
- Variety is the spice of leg life: Different exercises target different muscle fibers within your legs. Squats primarily engage quads, while lunges hit hamstrings and glutes more prominently. By mixing things up, you ensure all muscle groups get challenged, and one area isn’t beaten up relentlessly (and incredibly sore the next day). Working different exercises also leads to more balanced and overall leg development.
Now, Step 3 is going to get us into “active recovery.” Basically, what to do AFTER your leg day workout.
But let’s dive into a new section for that.
What Workout to Do AFTER Leg Day? (5 Ideas)

To recover from an intense leg day workout, there are a few things we can do. Some of these things can be done right after our workout, while others can be prioritized the next day.
Here are some ideas:
#1) Cool Down
Avoid the post-workout slump with a gentle cooldown. Light activity like walking or jogging helps pump blood through your working muscles, preventing them from feeling like overinflated balloons. This can reduce lactic acid buildup, a major contributor to muscle soreness.
#2) Foam Rolling
Foam rolling is your secret weapon for releasing tension and improving blood flow in those tired legs, especially in your quads, hamstrings, and glutes. Think of it as giving your muscles a mini massage after a workout. Studies show that foam rolling can help increase blood flow to the treated area, potentially aiding in faster recovery and reducing muscle soreness.[4]
Remember, it’s not a battle – listen to your body and apply gentle pressure. We’re trying to relax the muscles a bit, not beat them down into submission.
Here’s a routine you can run through if you have a roller handy:
For more, check out our guide How to Use a Foam Roller (Step by Step).
#3) Re-Fuel!
Soon after your workout, replenish your energy stores with a delicious blend of protein and carbs.
Think of meals like:
- Protein smoothie with banana
- Greek yogurt with berries and granola
- Whole-wheat wrap with turkey and avocado
Studies show that consuming protein and carbs soon after a workout optimizes muscle recovery and growth.[5]
#4) Motion is Lotion!
This is a favorite saying we have around here. It means to move around nice and easy, anyway that you can! This might mean a light walk, or a yoga session, or even a set or two of yesterday’s exercises at an easy level. Look to get the joints and muscles through as big a range of motion as you can.
This is often the exact opposite of what many people do the day after leg day – which is to sit around for days and wait for the soreness to subside. You’ll feel much better and be able to tackle your next workout a lot sooner if you remember to keep moving around!
#5) Sleep
Don’t underestimate the power of sleep! Aim for 7-8 hours of quality shut-eye to allow your muscles to repair and rebuild. As we cover in our Guide to a Goodnight’s Rest, sleep is like magic for your body – it’s when the real growth and progress happen.
For more tips on activities to do after your leg day workout, check out The Nerd’s Guide to Active Recovery.
What’s the Best Day for Leg Day? (When to Schedule Leg Day)

When it comes to scheduling your leg day, there’s no one-size-fits-all solution. It’s all about finding what works best for your schedule.
With that being said, here are some things to consider when scheduling Leg Day:
- When you have the most time. Working legs is tough and takes time to warm up and go heavy in your sets, as compared to the upper body. While we still recommend getting in your leg workouts even if you have a busy schedule, IF you have a choice then look to line up your leg day with the day of the week that gives you the most available time.
- Post rest day for a fresh attack. To maximize muscle engagement, potentially schedule your leg day workout after a rest day. That way you’re feeling recovered and ready to put in the hard work.
- Avoid pulling exercises the day before. Often when someone is doing a dedicated leg day, they’ll work their upper body on the other days of the week. With these upper body workouts, it’s also common for people to break up the exercises into pushing and pulling workouts. Because we often have to grab and hold weights or bands for our leg day workouts, it’s better to avoid scheduling leg day the day after your pulling workouts. The grip will be tired and it may affect what you can lift.
So there you have it, my friend! The leg day gauntlet has been laid, but how you choose to conquer it is entirely yours.
You may find a dedicated leg day to work best for you – allowing you to really focus on each exercise and push really hard. Or you may find that a total body workout – hitting legs and upper body in the same session – works much better for your schedule and your goals. There are no right and wrong answers here.
Remember, the Nerd Fitness Rebellion isn’t about rigid rules, it’s about experimenting, finding what lights your training fire, and making progress toward your goals while having fun.
And if you’re looking for even more help in building your workout, don’t forget to check out our guide on crafting the perfect personalized workout plan: How to Build a Workout Routine.
It’ll help you incorporate your new leg day routine into a complete workout.
Now go forth, nerdy warriors! Conquer leg day, conquer your workouts, and conquer the world, one step, squat, and lunge at a time!
-Coach Jim
PS – This is my favorite leg day meme:

###
Photo Souce: faithie/123RF.COM, liudmilachernetska/123RF.COM, olyasolodenko/123RF.COM, vetertravel/123RF.COM, lightfieldstudios/123RF.COM, gabort71/123RF.COM, dmitrygalilo/123RF.COM, kwangmoo/123RF.COM
The post The (Best) 20-Min Leg Day Workout for Home first appeared on Nerd Fitness.
from Nerd Fitness https://ift.tt/zZwSuLg

